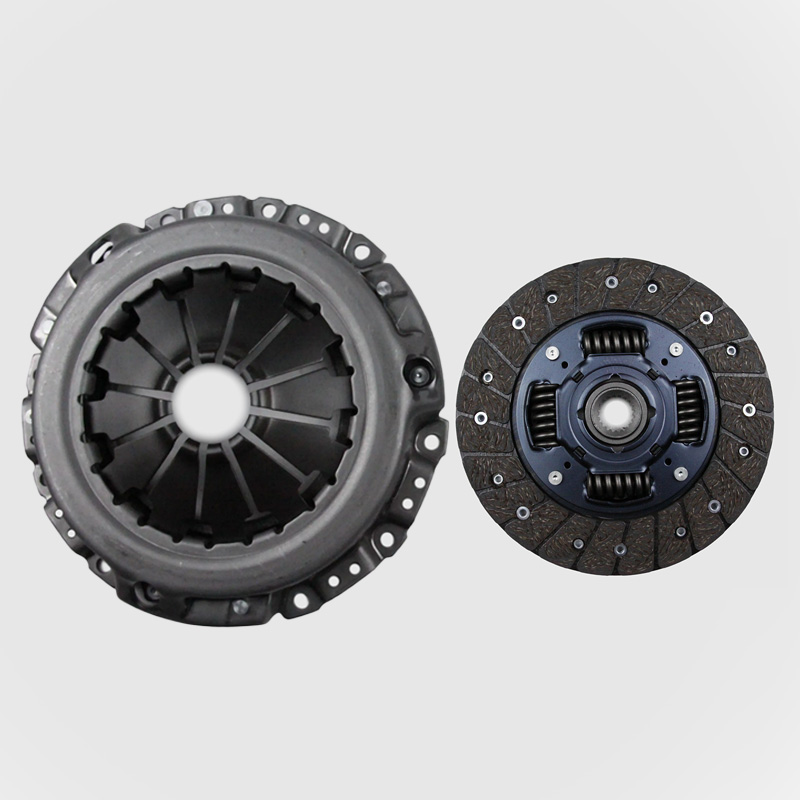
Vigilance! These 3 Wrong Ways of Installing a Clutch are Ruining Your Car
How Serious are the Consequences of Wrong Installation?
Installing the wrong clutch is like putting the wrong oil in your car - it may be fine in the short term, but it can quickly lead to big problems!
✅ Correct installation: the clutch will last more than 3 years
❌ Wrong installation: it may be scrapped in a few months and the repair cost is more expensive than a new clutch!
Visual comparison diagram:
Left: correctly installed clutch (smooth and flat)
Right: incorrectly installed clutch (badly worn and mirrored)

Error ①: screw too tight or too loose Error performance:
Too tight: deformation of clutch pressure plate
Too loose: slipping when driving
Correct practice:
First,use a torque spanner
Third, the error ②: the clutch installed crooked
Common situation:
- the car shakes a lot of
- regular "thump thump thump" noise
How to check:
1. ruler measurement:
- with a ruler compared to the clutch to see whether the parallel
- the difference between the gap should not be more than 1mm (about the thickness of a credit card)
2. chalk test: - Touch the edge with chalk lightly when turning to see if the marking is even
Suggestion:
If it is a big truck or construction machinery, it is recommended to ask the master to do laser alignment
IV. Mistake ③: Dirtying the friction disc when installing
Don't ever do it:
✖ Touch the friction disc directly with your hand (fingerprint grease stains will lead to slipping)
✖ Wipe it with a normal rag (it will leave behind fine sand that is invisible to the naked eye)
Correct Cleaning Steps:
1. Blow: blow off the dust with an air gun
2. Spray: with a Spray: Use special cleaner
3. Dry: Air dry naturally for 10 minutes
V. Quick Self-Check: Are you installing it right?
3 seconds test:
□ Did you use a torque spanner?
□ Is it smooth to turn by hand after installation?
□ Is there any oil on the friction plate?
➔ Download ‘Clutch Installation Guide to Avoid Pitfalls’ (cartoon illustrated version)
➔ Watch the 3-minute installation instruction short video (Scan the code to reach directly)
VI.PROFESSIONAL GUARANTEE
✔ Provide free installation instruction (add social media to get a free consultation)
✔ All clutches have a 1-year warranty
VII. Common Pitfall: Ignoring Flywheel & Pressure Plate Inspection
When installing a new clutch, many focus only on the friction disc but neglect the flywheel and pressure plate!
❌ Wrong Practices:
-
Mounting the clutch without checking flywheel flatness (scratches or heat stains cause slipping).
-
Reusing severely worn pressure plates (weak spring force reduces clutch lifespan).
✅ Correct Steps:
-
Flywheel Check: Use a flashlight to detect cracks or burnt spots.
-
Pressure Plate Test: Press springs with a screwdriver to verify even tension (replace if loose).
Surface Prep: Lightly polish the flywheel with 1200-grit sandpaper to remove oxidation
VIII. Choose profeesional clutch
-
Pre-adjusted pressure plate (eliminates human error)
-
Alignment tool (solves crooked installation)
-
Use good quality clutch to increase clutch service life.
8 Hidden Costs of Low Cost Clutch Products
ATTENTION! Three drive habits may hurt your clutch! How to avoid them?( With profession solutions)